Publishing live data Dashboard
After set your schedule you can publish your dashboard to the server using Data Integration Tool to provide scheduled live data.
Important
To be able to publish your live data dashboard, you need to create a database on a Microsoft SQL Server
In the Designer click on the server menu / publish / Dashboard like below
Note
You will have to login to the server before. Please see this section to find out how to log in here

Then the publish dashboard window will appear like usual like below
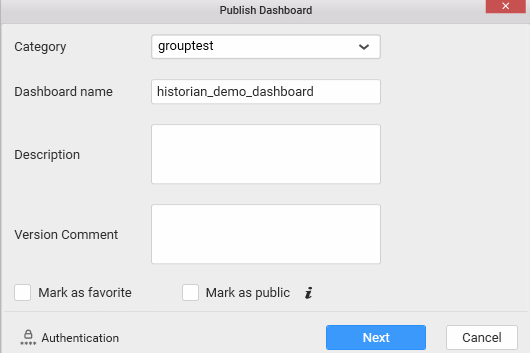
Then, set the category, Dashboard name, the description, version comment if needed.
You can choose Mark as favourite and Mark as Public as well, find more information here
Then click Next, the following window appears
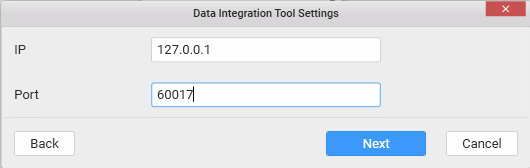
Set the IP of the machine where Data Integration Tool is running. (here 127.0.0.1 for local machine)
Set the Port to: 60017. This is the default port used by Data Integration Tool.
Then, click Next.
The target connection settings window appears like below
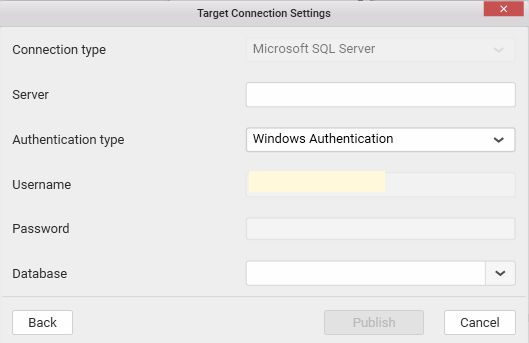
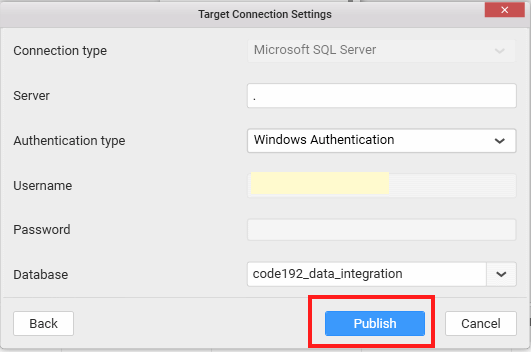
Set the server IP, Authentication Type, and select the Database you created before to store your data. If not created, you will need to create one, to be able to store the live data.
Then, click Publish.
Then, once published, you will get the confirmation the dashboard was published in the next screen
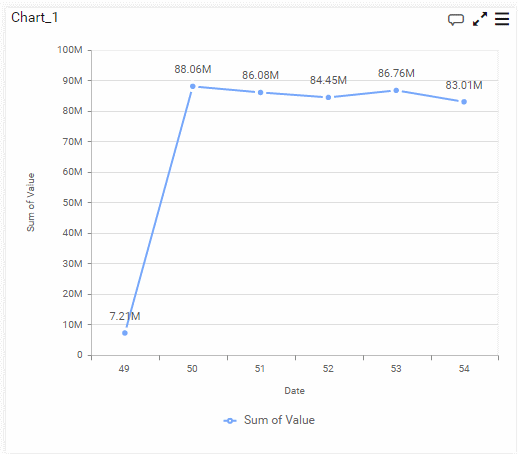
It will open your web browser with your dashboard like this example below
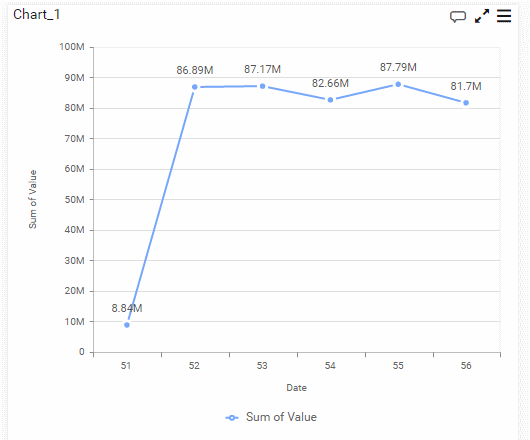
Then, two minutes later , you can see the data changed by refreshing page like below
You can also auto refresh, please see this section here
To learn how to manage connections to Data Integration Tool via the Dashboard Designer click here