Installation and Deployment of Data Integration Tool

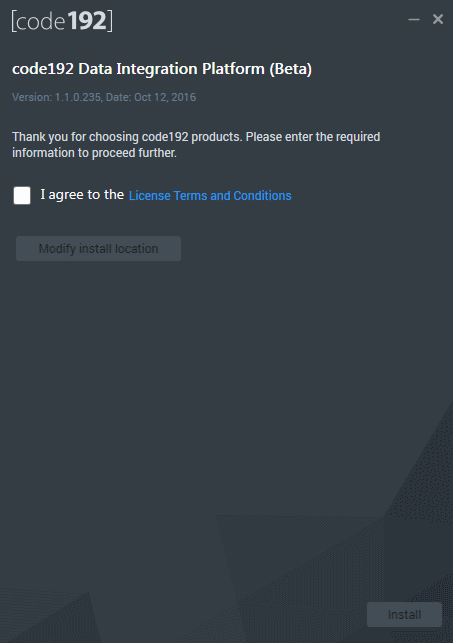
After downloaded the application, run the installer of Code 192 Data Integration Tool.
Read and accept the license terms and conditions through checking the option I agree to the Licence Terms and Conditions.
After this, If you wish to change the install path, you can do it by clicking modify install location.
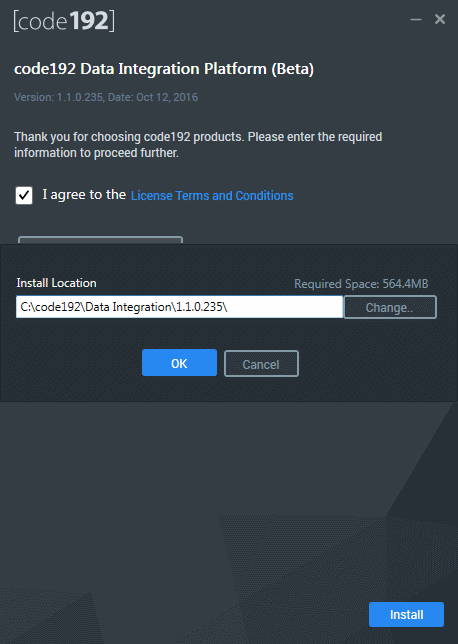
Click the Change button and select the folder you wish. Once it’s done click OK.
Click install to launch the installation.
After the installation complete the next screen appears
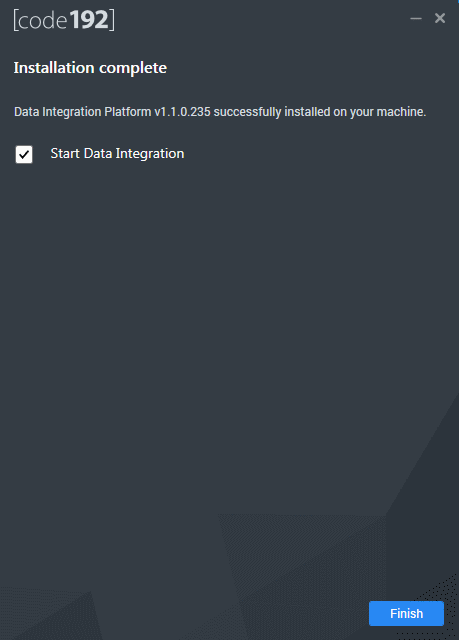
Here, uncheck the Start Data Integration Tool box and click Finish.
Installing JDBC Driver
To be able to use the Data Integretion Tool, you need to download the JDBC Driver
Navigate to this link and download the sqljdbc_4.2 version driver. (External Link)
Select sqljdbc_4.2.6420.100_enu.tar.gz
The file will be downloaded as zip folder.
Copy DLL
In the archive, select the dll from x64 or x86 as per your System architecture : “Sqljdbc_4.2\enu\auth\x64\sqljdbc_auth.dll” for x64 “Sqljdbc_4.2\enu\auth\x86\sqljdbc_auth.dll” for x86
Copy the selected DLL to :
C:\Windows\System32\
Copy JAR
Copy the jar file ‘SQL_jdbc 4.jar’ from the downloaded driver and place it inside.
C:\code192\Data Integration\{version}\SDK\NIFI\lib\
Now that the tool is installed, please see the overview section here