Installation
This section discusses about the installation/uninstallation, upgrading, service hosting procedures of Code 192 Dashboard Designer.
Installing Dashboard Designer
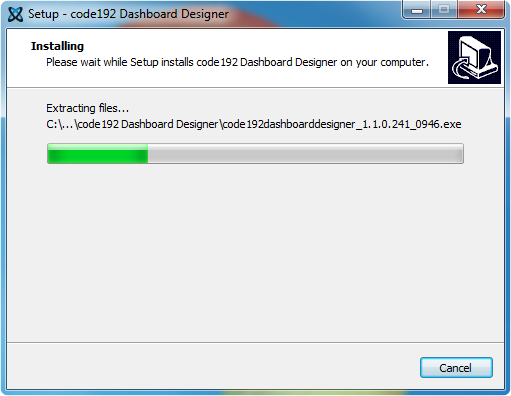
Run the saved installer by double-clicking the code192dashboarddesigner_. EXE file from the saved location.
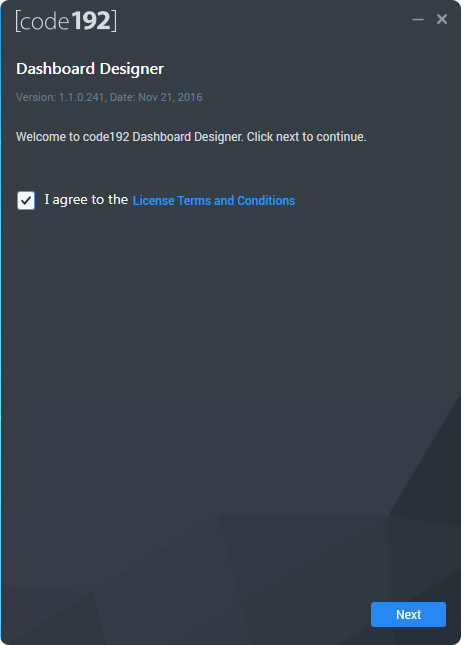
Read and accept the license terms and conditions through checking the option I agree to the Licence Terms and Conditions and click NEXT.
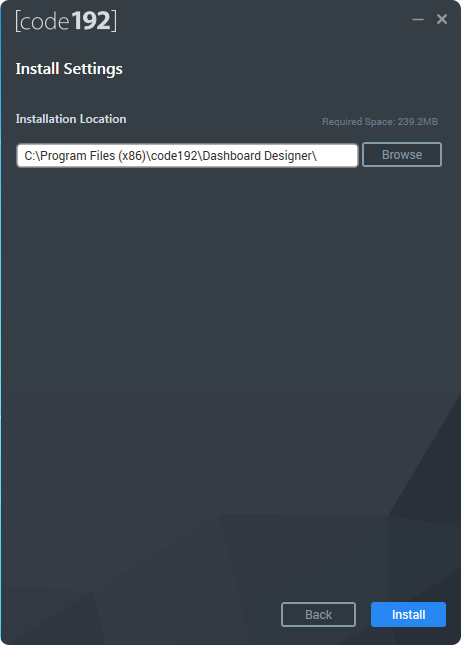
Browse to the location where you would like to install the Dashboard Designer application and click INSTALL.
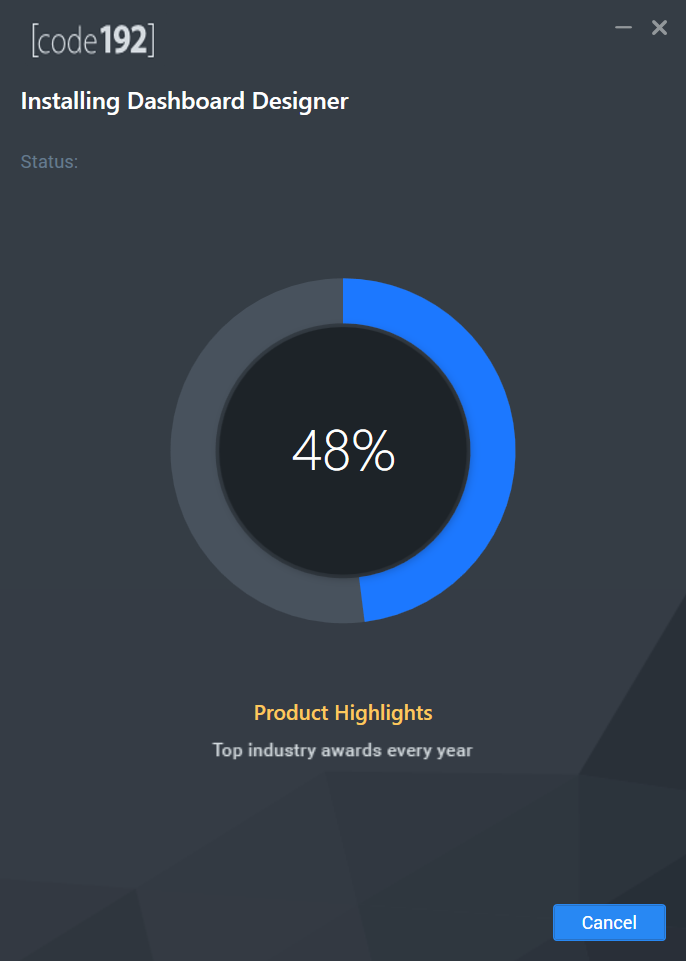
Now the installation begins. You can cancel the installation anytime through pressing CANCEL, if you prefer.
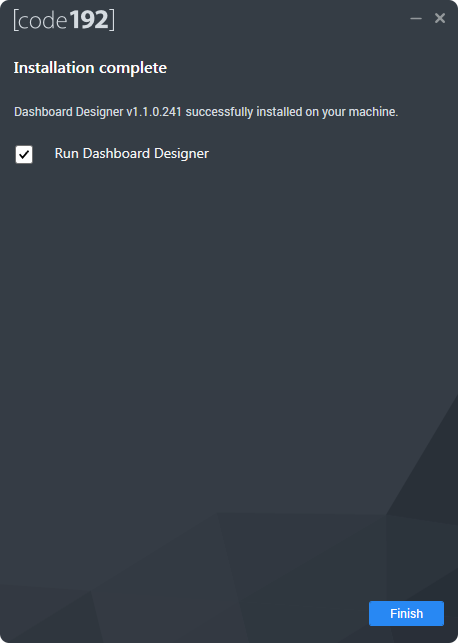
On successful installation, the above screen appears. Click Finish to close the installation wizard and run the newly installed Dashboard Designer. You may also run the application later through unchecking the option Run Dashboard Designer.
Hosting Dashboard Service in IIS Express
Dashboard Service is a web service through which data requests will be processed by Dashboard Designer application. This service will get hosted in IIS Express and run automatically on previewing a dashboard through Dashboard Designer.
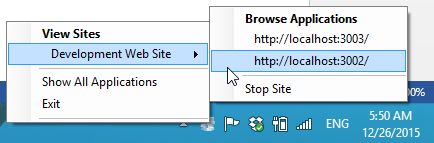
Two sites, one representing the dashboard service and the other representing the dashboard preview will be running in IIS Express on clicking the Preview in the Dashboard Designer application. On closing the Dashboard Designer application, these started sites will get stopped automatically.
Upgrading Dashboard Designer
On any new release of Dashboard Designer, it can be downloaded and installed on top without uninstalling the previous version. The installation of Dashboard Designer will replace the previous installation and related files.
Uninstalling Dashboard Designer
You can uninstall the dashboard designer application, if required, through uninstalling the Code 192 Dashboard Designer entry from Control Panel.
