Range Navigator
Range Navigator allows you to filter based on the date range dynamically set through navigation bars.
How to configure flat table data to Range Navigator?
The following procedure illustrates data configuration of Range Navigator.
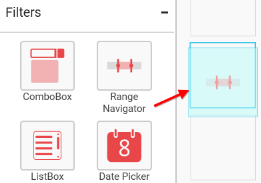
Drag and drop Range Navigator control icon from the Tool box into design panel. You can find control in Toolbox by search.
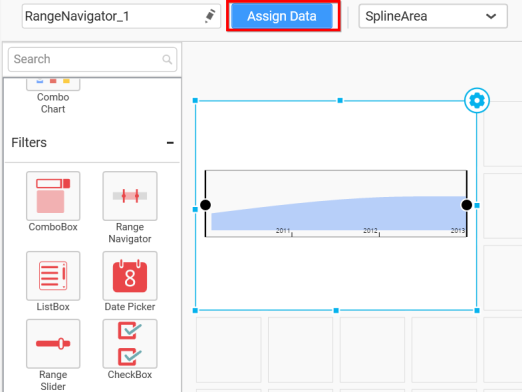
After control added in design panel, click Assign Data button at Design Tools Pane to open the Data configuration pane.
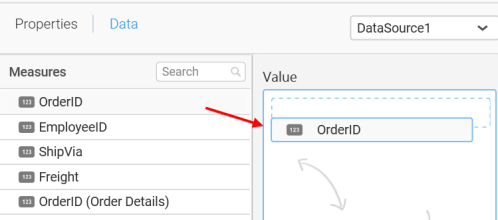
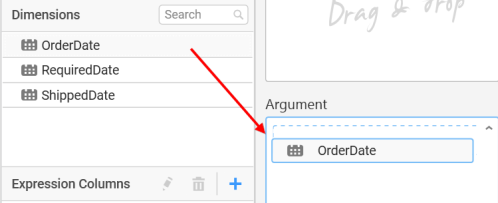
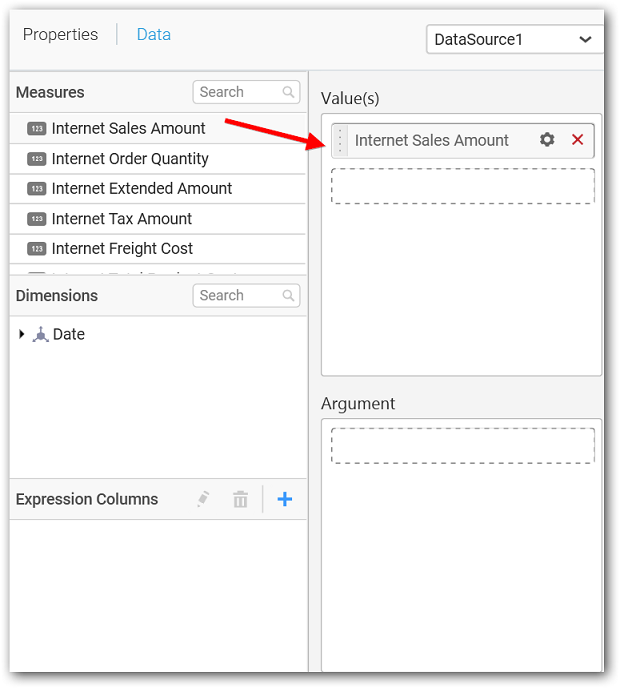
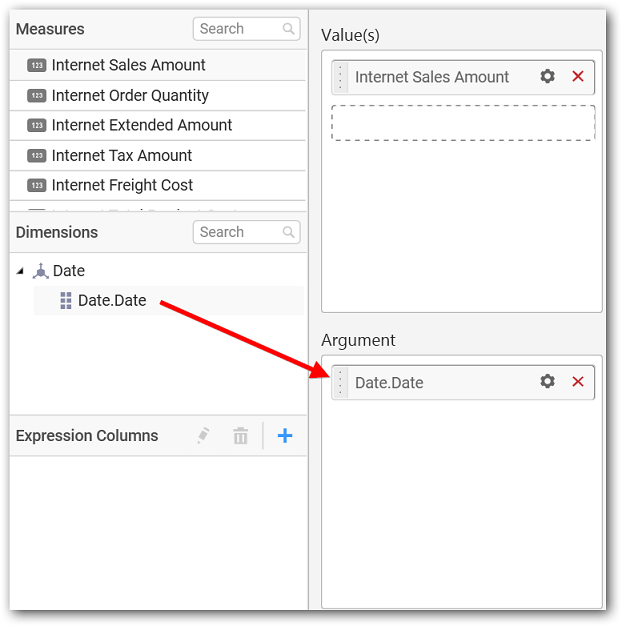
Bind a Measure column to Value section and a Date type column to Argument section.
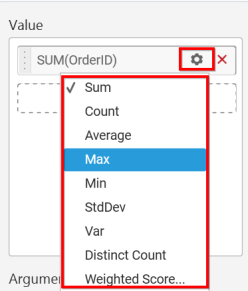
You can use the aggregation function to change the values of the elements.
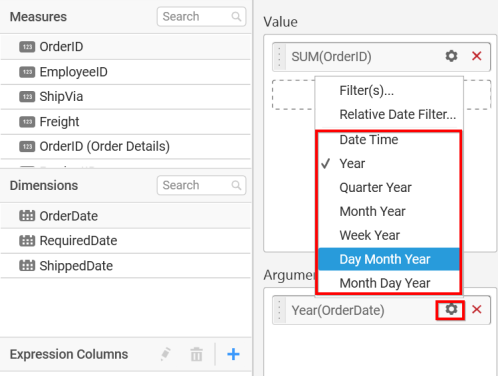
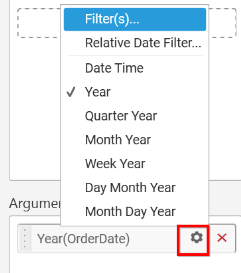
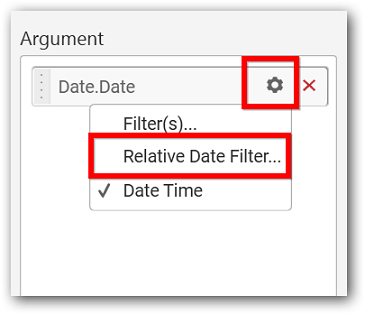
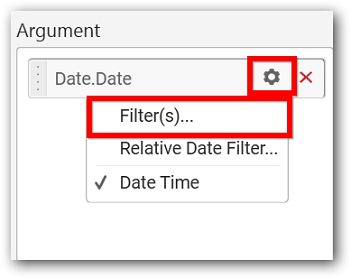
You can select the type of Date and Time as required by clicking the Setting button.
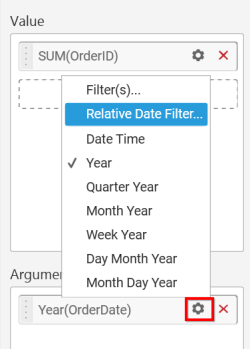
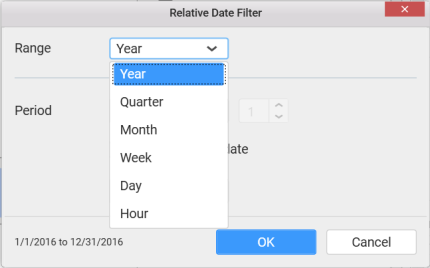
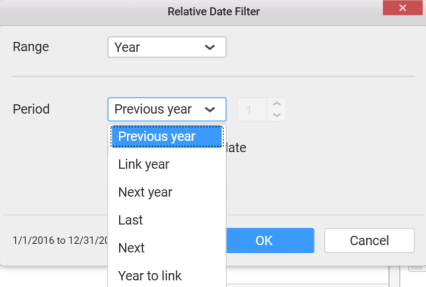
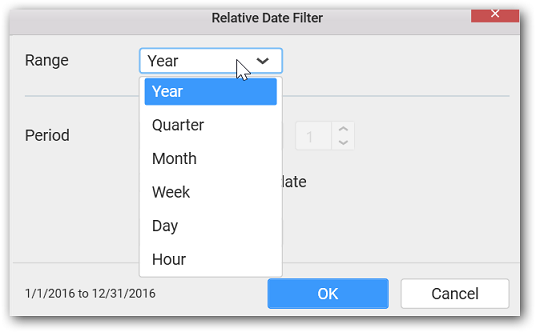
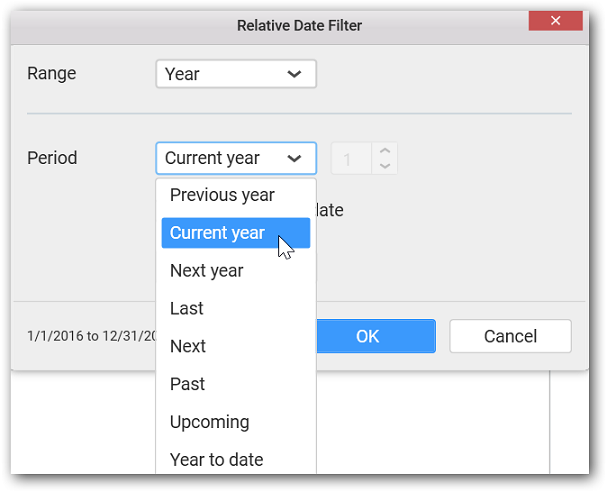
You can use the Relative Date Filter option to filter the Range and Period.
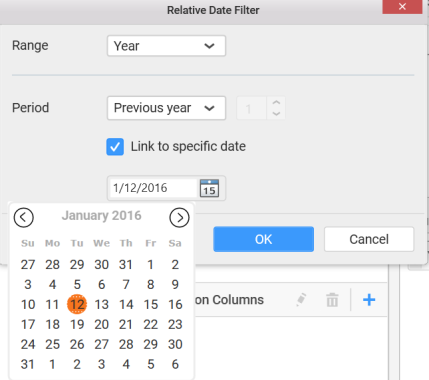
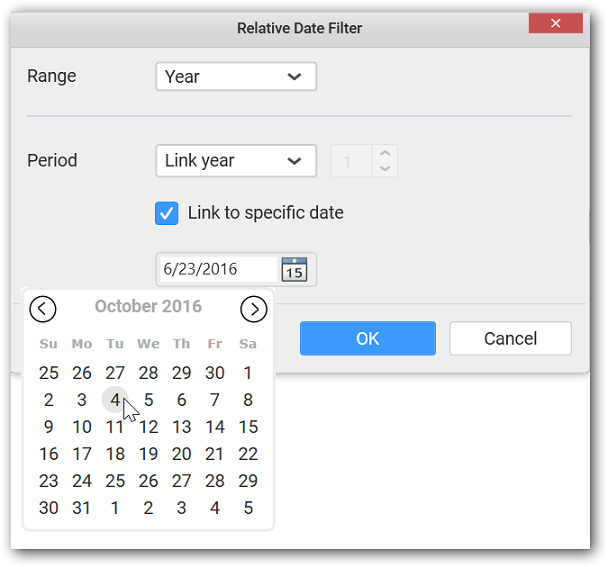
Select the Link to specific date option to select the specific date.
You can use the Filter(s)… option to apply the filter condition for date.
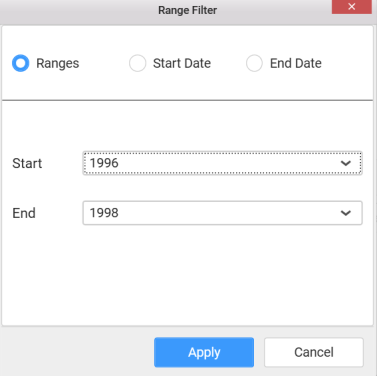
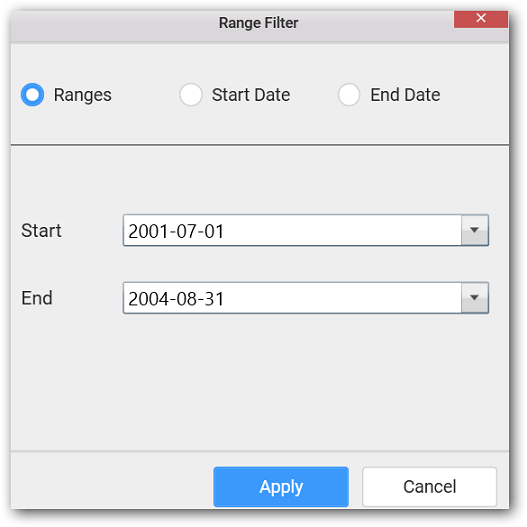
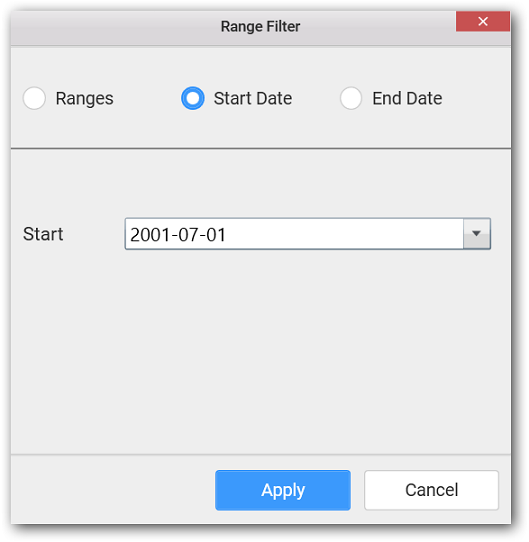
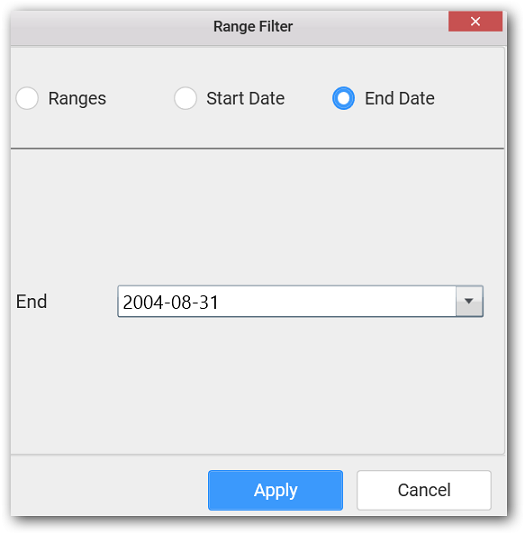
Range Filter will be shown to set either the Range, Start Date or End Date and click Apply.
Ranges
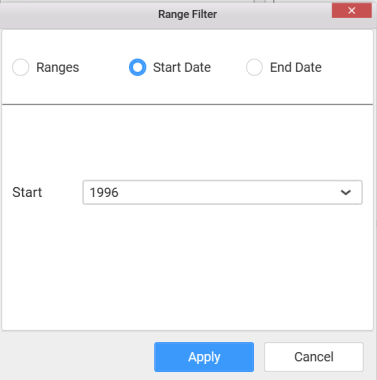
Start Date
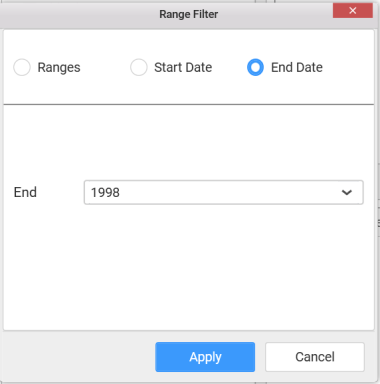
End Date
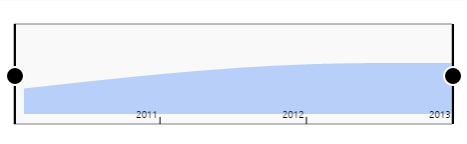
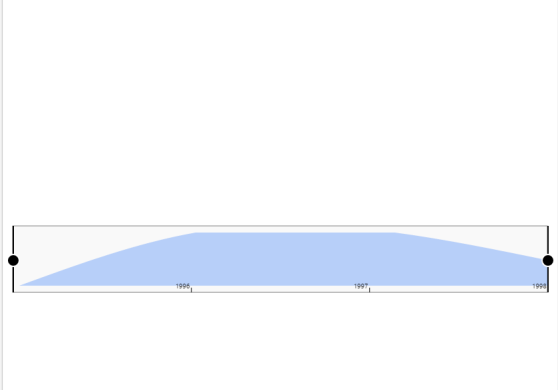
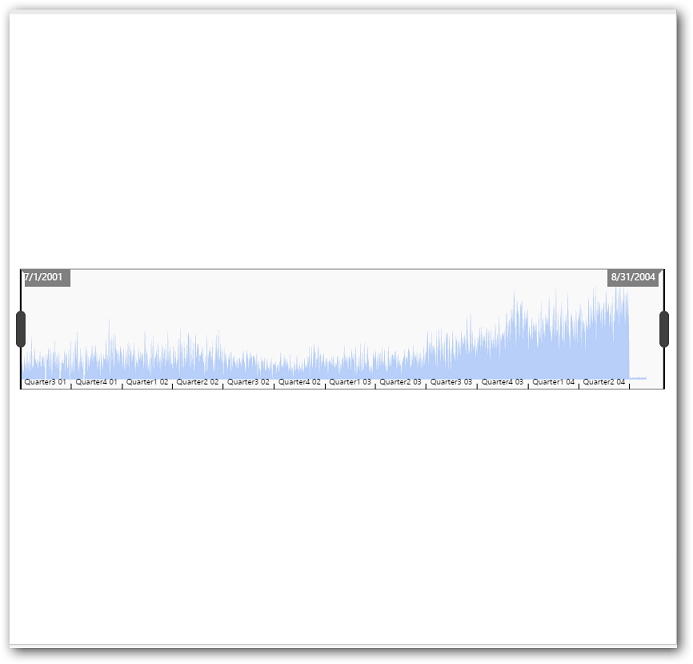
Here is an illustration,
How to configure SSAS data to Range Navigator?
Following steps illustrates configuration of SSAS data to Range Navigator.
Drag and drop the Range Navigator widget into canvas and resize into your required size.
Select the dropped widget using mouse.
Click the Assign Data button in the toolbar.
A Data pane will be opened with available Measures and Dimensions.
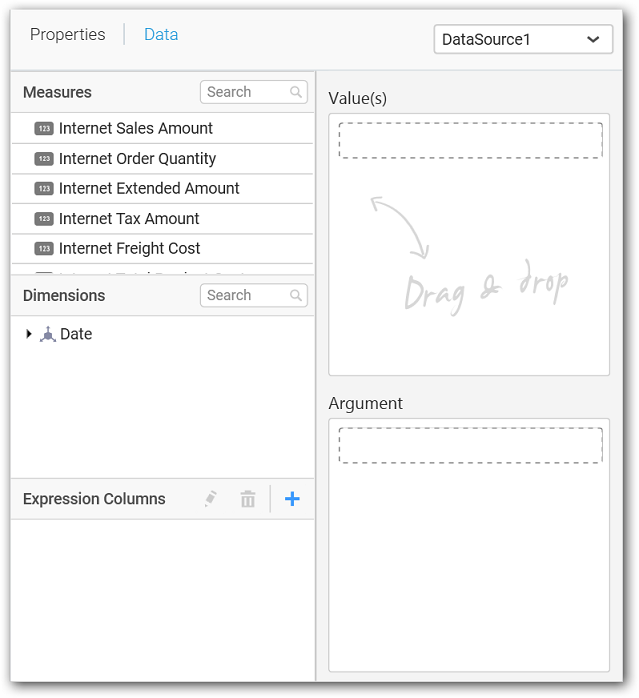
Drag and drop a column under Measures category into Value(s) section.
Drag and drop a column under Dimensions category into Argument section.
Define relative date filter criteria through Relative Date Filter menu item in the Settings drop down menu.
Select the Link to specific date option to select the specific date
Define filter criteria through Filter(s)… menu item in the Settings drop down menu.
Select Filter(s)… to launch the Filters window.
set either the Range, Start Date or End Date and click Apply.
Ranges
Start Date
End Date
Here is an illustration,
How to Format Range Navigator widget?
You can format the Range Navigator for better illustration of the view that you require, through the settings available in Properties pane.
General Settings
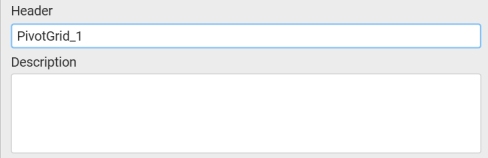
Header
This allows you to set title for this range navigator widget.
Description
This allows you to set description for this range navigator widget, whose visibility will be denoted by i icon, hovering which will display this description in tooltip.
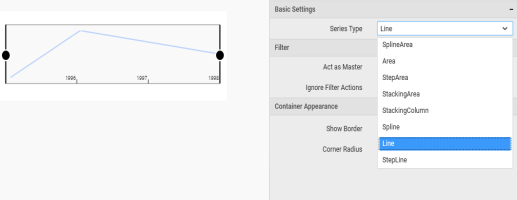
Basic Settings

Series Type
You can change the series type to any chart type to render in range navigator.
Filter settings
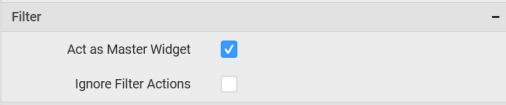
Act as Master Widget
This allows you to define this range navigator widget as a master widget such that its filter action can be made to listen by other widgets in the dashboard.
Ignore Filter Options
This allows you to define this range navigator widget to ignore responding to the filter actions applied on other widgets in dashboard.
Container Appearance
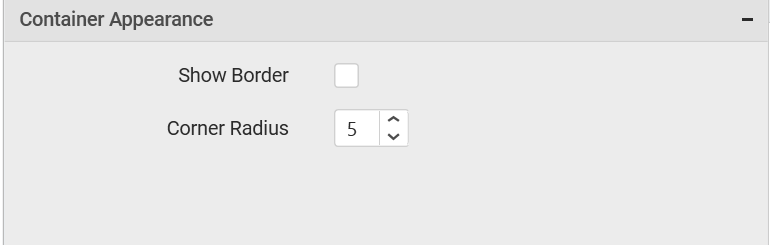
Show Border
This allows you to toggle the visibility of border surrounding the widget.
Corner Radius
This allows you to apply the specified radius to the widget corners. Value can be between 0 and 10.